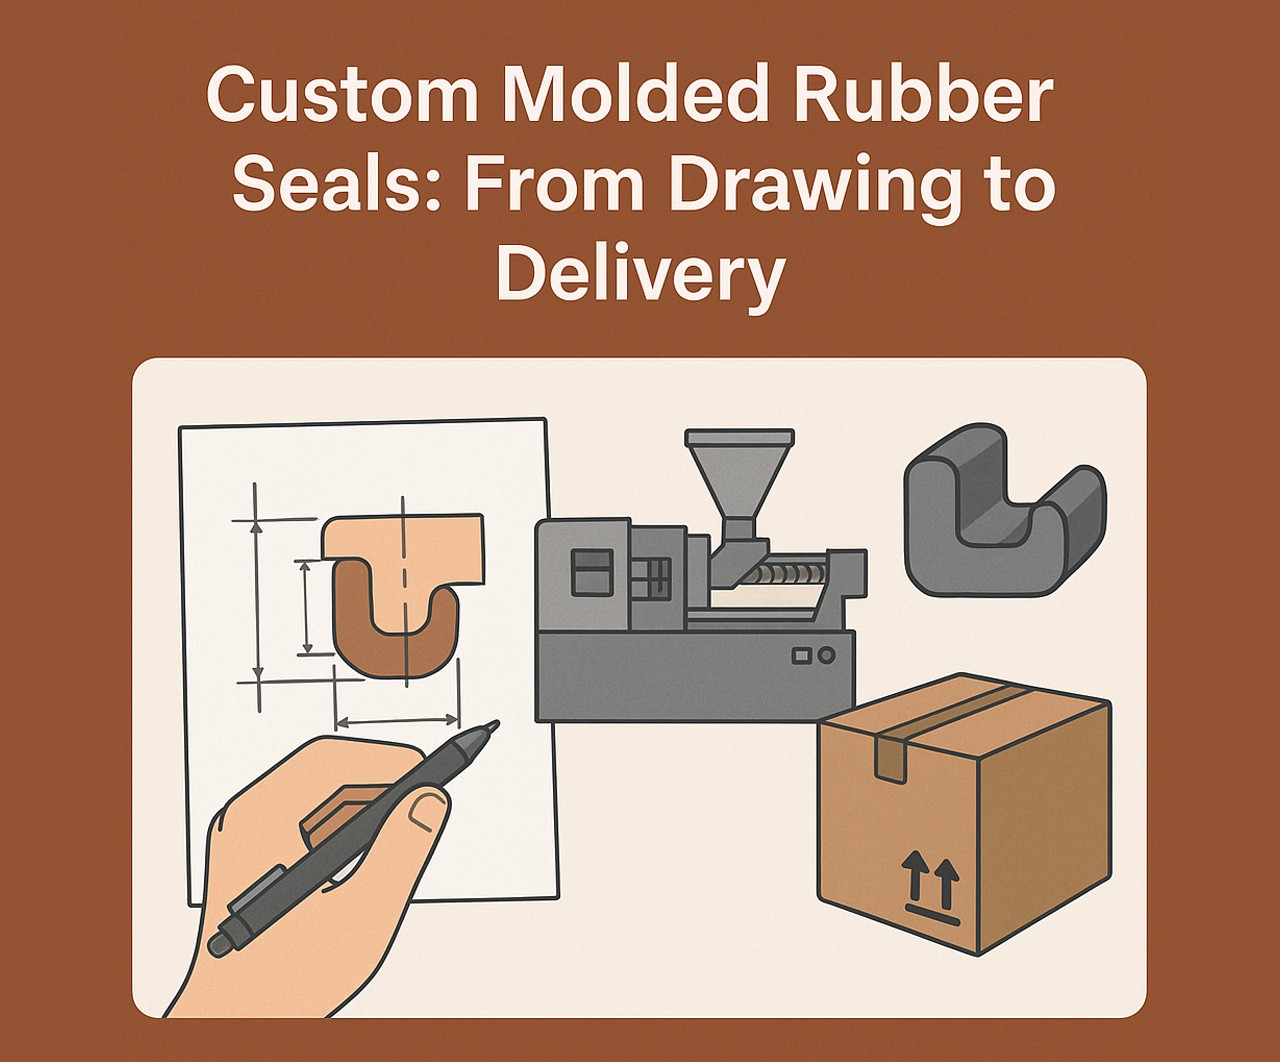
In a world where precision sealing matters more than ever, rubber seal technology continues to play a vital role in everything from aerospace to everyday appliances. Whether it’s ensuring a tight rubber door seal on a commercial freezer or designing specialized rubber seals for industrial equipment, custom molded solutions bridge the gap between performance and design flexibility. This article walks you through the full lifecycle of custom rubber seal production—from concept sketch to final delivery—while unpacking the critical details that separate off-the-shelf options from engineered excellence. Know more..
Why Custom Rubber Seals?
While standard rubber seals have their place, they don’t always cut it when you’re dealing with specific pressure, temperature, or chemical resistance requirements. Custom molded rubber seal solutions allow manufacturers to tailor every detail—from geometry and durometer (hardness) to compound chemistry and environmental compatibility.
For example, in the automotive world, a rubber door seal must maintain flexibility through extreme temperature cycles, withstand ozone exposure, and stay resilient through years of opening and closing. A one-size-fits-all solution just won’t do.
Step 1: Concept and Design Consultation
The custom seal journey begins with understanding the application. Engineers and designers start by reviewing:
- Application environment (e.g., chemical exposure, UV, moisture)
- Mechanical loads (pressure, compression, movement)
- Regulatory requirements (FDA, UL, ROHS, etc.)
- Tolerance and fit constraints
During this phase, a clear vision for the rubber seal begins to take shape. Whether you’re sealing a car door or a vacuum chamber, success starts with asking the right questions.
Step 2: Material Selection
Choosing the right rubber compound is critical to ensure durability and performance. Popular materials for rubber seals include:
- EPDM: Excellent for outdoor and rubber door seal applications.
- Silicone: High-temperature resistance and food-grade compatibility.
- Nitrile (NBR): Ideal for fuel and oil resistance.
- Fluoroelastomer (FKM/Viton): High chemical resistance in aggressive environments.
Material specialists will balance mechanical properties, resilience, and cost based on the specific use case.
Step 3: Prototyping and 3D Modeling
With material and shape finalized, CAD engineers convert sketches into 3D models. Digital modeling allows for fine-tuning of:
- Compression profiles
- Groove geometry
- Stress points
- Mounting tolerances
Once approved, prototypes of the rubber seals can be made via rapid tooling or 3D-printed molds. This stage is where theory meets reality. You’ll get a tangible version of the rubber seal to test against real-world conditions.
Step 4: Mold Tooling
For volume production, custom tooling is required. The design of the mold directly influences:
- Surface finish
- Flash lines
- Cycle time
- Dimensional accuracy
Tooling for a rubber door seal might be different from that of a tiny diaphragm seal in a fuel injector. At this point, tool steel selection and precision machining come into play.
Lead times for mold creation vary from 2–6 weeks, depending on complexity and quantity.
Step 5: Manufacturing and Quality Control
Once the mold is ready, the manufacturing process begins. Methods include:
- Compression Molding: Great for large, bulky rubber seals or lower production volumes.
- Injection Molding: Ideal for high-volume production with tight tolerances.
- Transfer Molding: Best for intricate shapes with embedded metal components.
During production, the rubber seal undergoes:
- Cure cycle monitoring
- Durometer testing
- Visual inspection
- Dimensional verification
A robust quality control process ensures consistency from one batch to the next.
Step 6: Post-Processing
Depending on the application, post-processing steps may include:
- Deflashing: Removal of excess rubber along parting lines.
- Coating: Applying PTFE, silicone grease, or anti-friction agents.
- Bonding: Affixing the rubber seals to plastic or metal substrates.
- Laser marking: For traceability and regulatory compliance.
For a rubber door seal, post-processing might also include flocking for noise reduction or color coding for assembly lines.
Step 7: Packaging and Delivery
Packaging custom rubber seals isn’t just about aesthetics. It’s about protection, cleanliness, and ease of use:
- Sealed pouches for sterile or food-grade applications
- Color-coded bins for production lines
- Bulk packaging for OEMs
Logistics partners ensure the final product arrives on time, intact, and ready to install.
Key Benefits of Custom Molded Rubber Seals
1. Precision Fit
Designed specifically for the housing, reducing leaks and improving performance.
2. Material Optimization
Avoids over-engineering or under-specifying. The right material = longer life.
3. Enhanced Durability
Whether it’s a rubber door seal exposed to the elements or a gasket submerged in oil, custom specs extend lifespan.
4. Regulatory Compliance
Easier to meet industry standards such as FDA, USP Class VI, or automotive-grade testing.
5. Brand Identity
Yes, even rubber seals can be branded or color-coded to enhance user experience.
Use Cases Across Industries
- Automotive: Rubber door seals, grommets, vibration dampers.
- Medical: Biocompatible tubing, sealing rings, drug delivery components.
- Aerospace: High-altitude seals, fuel-resistant gaskets.
- Food and Beverage: Sanitary gaskets and valves.
- HVAC and Appliances: Weatherstripping, compressor seals, thermal insulation.
Each industry has unique demands, but the need for reliable rubber seal performance is universal.
How to Choose the Right Partner for Custom Rubber Seals
With thousands of suppliers in the market, here’s what to look for:
- Material science expertise
- In-house tooling and molding capabilities
- Proven track record in your industry
- ISO and regulatory certifications
- Fast prototyping and sampling
The right partner can make all the difference between a functional part and a production nightmare.
Tips to Streamline Your Rubber Seal Project
- Start with clear specs: Include dimensions, operating conditions, and any certifications required.
- Use CAD files early: Engineers can flag geometry issues before tooling starts.
- Test prototypes aggressively: Better to fail early than after full production.
- Plan for scale: Choose molding techniques that align with your long-term volume needs.
- Communicate timelines: Tooling and production schedules should be synced with your assembly line.
The Future of Rubber Sealing Solutions
With increasing emphasis on energy efficiency and regulatory compliance, rubber seals are evolving:
- Bio-based rubbers are reducing carbon footprints.
- Smart seals can incorporate sensors or conductive paths.
- Digital twin modeling helps optimize compression and wear life.
Even the humble rubber door seal is getting smarter, as automotive companies look to integrate acoustic, electronic, and thermal control into one multifunctional part.
Conclusion
From first sketch to final shipment, the journey of a custom rubber seal is a blend of engineering, material science, and precision manufacturing. Off-the-shelf solutions may work in generic cases, but when performance, safety, and fit are non-negotiable, custom molded rubber seals deliver unmatched value.
Whether it’s a specialized rubber door seal for a cutting-edge EV or a high-performance gasket for a medical pump, custom solutions keep systems running leak-free, friction-free, and failure-free.


