When it comes to maintaining hydraulic and pneumatic systems, installing seals correctly is one of the most critical tasks for ensuring long-term performance. Whether you’re replacing rod seals, installing a piston seal, or working to seal rod interfaces in high-pressure cylinders, doing the job right from the start saves time, reduces system wear, and prevents costly downtime. Understanding the correct installation methods is as important as choosing the right seal materials. In this guide, we break down best practices for a trouble-free installation process that maximizes seal life and system reliability. Know more..
Why Installation Matters
Seals are precision-engineered components designed to function under demanding conditions. In hydraulic systems, piston seals ensure fluid doesn’t cross between pressure zones, while rod seals keep fluid from leaking out along the shaft. If you don’t properly seal rod interfaces, you risk fluid loss, contamination ingress, and total system failure.
Even the highest quality seals can fail prematurely due to poor installation. Incorrect positioning, damage during fitting, or overlooking surface prep can reduce effectiveness and shorten operational lifespan.
Tools You Need for Installation
Proper tools reduce the risk of damaging seals during installation and ensure they seat correctly. Depending on the seal type and cylinder design, your kit should include:
- Seal installation cones
- O-ring picks (plastic, not metal)
- Chamfer tools
- Seal stretchers and presses
- Lubricant (compatible with system fluid)
- Calipers or micrometers
These are especially useful when installing tight-fitting piston seals or flexible rod seal profiles.
Step-by-Step: Installing a Rod Seal
Step 1: Inspect the Rod and Gland
Clean and inspect all contact surfaces. Look for scratches, pitting, or burrs on the rod or in the gland. Even a small imperfection can compromise your attempt to seal rod ends effectively.
Step 2: Confirm Seal Type and Orientation
Some rod seals have directional lips. Make sure you identify the correct orientation before fitting. A backward rod seal won’t function properly under pressure.
Step 3: Use a Seal Installation Tool
Avoid bending or stretching the seal by hand. Instead, use a seal installation cone or a specialized rod seal tool to guide the seal into position smoothly.
Step 4: Lubricate Before Seating
Apply a thin film of compatible lubricant to the seal and housing groove. This reduces installation force and prevents tearing or scuffing.
Step 5: Final Inspection
After seating the rod seal, ensure it lies flat in the groove without twisting. A misaligned seal can cause immediate failure when pressurized.
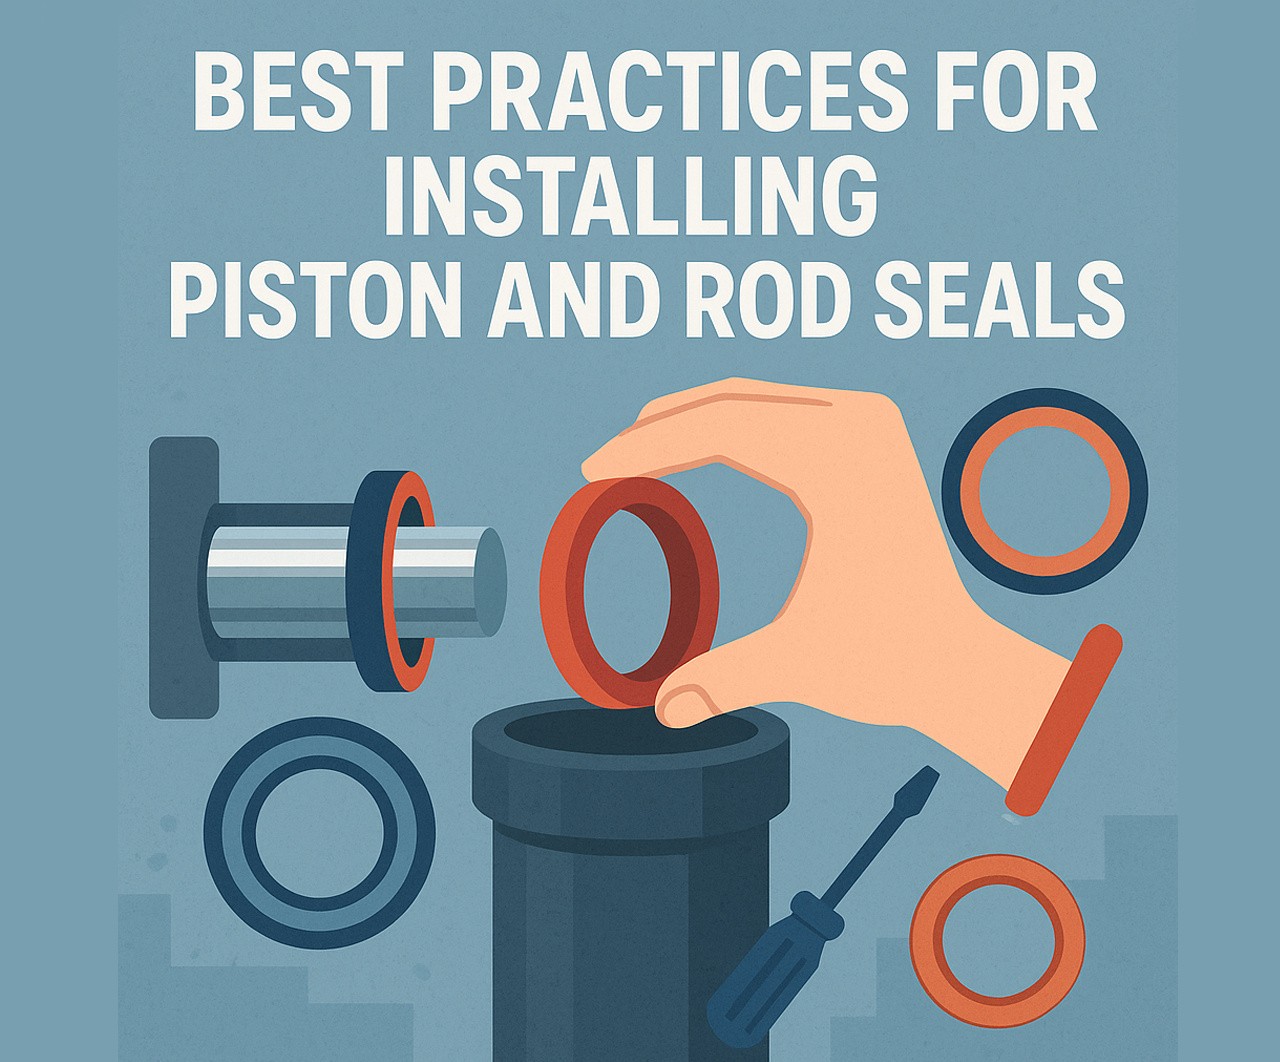
Step-by-Step: Installing a Piston Seal
Step 1: Prepare the Piston and Bore
Remove the piston and clean all surfaces. Inspect for damage that might cut or wear the piston seal. Sharp edges should be chamfered to protect the seal during installation.
Step 2: Choose the Right Technique
Depending on the piston seal design (solid, split, or two-piece), different methods are appropriate:
- Stretch method: For flexible seals, gently expand the seal over the piston.
- Cone and sleeve: For tight seals, use a tapered sleeve to stretch and slide the seal into the groove.
- Press fitting: For rigid seals, use a press to evenly seat the seal without deformation.
Step 3: Lubricate All Components
Coat the piston seal and mating groove with a compatible lubricant. This minimizes friction and assists in positioning.
Step 4: Seat the Seal Properly
Ensure the piston seal lies uniformly in the groove without twists. For stacked seal sets, place backup rings or energizers in the correct order.
Step 5: Install the Piston Into the Cylinder
When reassembling, use a chamfered guide to ease entry and prevent rolling or cutting the seal.
Best Practices for Seal Rod Preparation
The seal rod interface is critical to achieving a leak-proof system. Here’s how to optimize it:
- Surface Finish: Aim for a roughness average (Ra) of 0.1-0.4 µm. Too smooth, and the seal won’t retain oil. Too rough, and it accelerates wear.
- Chamfer and Lead-In: A smooth entry prevents seal lip damage.
- Hard Chrome Plating: Offers wear resistance and smooth operation for heavy-duty rod seal applications.
- Deburring: Always remove sharp edges around ports or grooves that may tear the seal during installation.
Properly prepping your seal rod surfaces sets the foundation for performance.
Common Installation Mistakes to Avoid
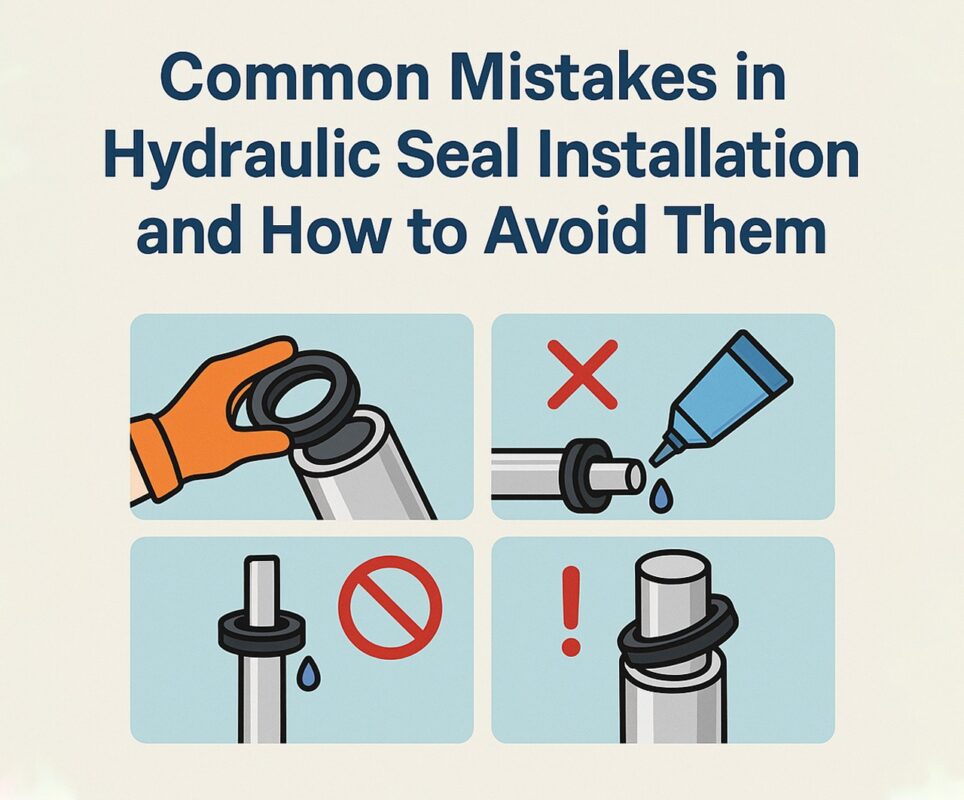
- Using Metal Tools: Sharp picks can gouge or scratch the seal.
- Forcing Seals: Applying excess pressure can deform or tear the lip.
- Skipping Lubrication: Dry installation leads to immediate seal damage.
- Installing Backwards: Directional seals must face the pressure side.
- Contaminated Surfaces: Dirt and debris in grooves can cause leakage or improper seating.
Even an incorrectly installed rod seal in a low-pressure system can trigger long-term performance issues.
Material Considerations During Installation
The flexibility, hardness, and shape of seals differ based on the material. Each reacts differently to handling and pressure:
- Nitrile (NBR): Flexible and forgiving; good for general-purpose installs.
- Polyurethane (PU): Tougher to stretch; needs careful handling.
- PTFE: Rigid and delicate; often requires heating or special tools.
- FKM (Viton): Heat-resistant but can tear if stretched improperly.
These considerations are especially important when choosing piston seal and rod seal combinations for mobile hydraulics or high-temperature environments.
Tips for Long-Term Seal Life
Installation is just one part of the puzzle. After fitting, take these steps to extend performance:
- Run-In Period: Let the system cycle slowly under low pressure to allow the seal to seat properly.
- Regular Inspections: Look for signs of extrusion, deformation, or leaking.
- Temperature Control: Monitor heat exposure to avoid seal hardening.
- Fluid Compatibility: Use the correct hydraulic fluid to prevent swelling or degradation.
- Avoid Overloading: System shock or excessive pressure spikes can push the rod seal past its design limits.
A well-installed piston seal can last for thousands of hours if the operating conditions stay within design specs.
When to Replace a Seal
Even the best-installed seals eventually wear out. Here are signs it’s time for a new rod seal or piston seal:
- Increased system leakage
- Fluid discoloration
- Noise or chatter during operation
- Uneven actuator movement
- Visible damage to the seal lip or housing
If you consistently need to seal rod areas more than expected, inspect for shaft scoring, misalignment, or fluid contamination.
Final Thoughts: Install with Precision, Operate with Confidence
Seals are the front line of defense in any hydraulic or pneumatic system. The difference between a 500-hour failure and a 5,000-hour runtime often comes down to how well the piston seal and rod seal were installed. To reliably seal rod and piston interfaces, focus on preparation, use the right tools, follow orientation guidelines, and respect material limits.
Installation isn’t just a maintenance task—it’s a performance strategy. Equip your team with the skills, tools, and knowledge to do it right, and your systems will reward you with quieter, cleaner, longer-lasting operation.
Whether you’re upgrading cylinders in a factory press or maintaining mobile equipment in the field, follow these best practices for every piston seal, rod seal, and seal rod application—and turn good machines into great performers.