If you’ve ever searched for o rings near me or flipped through the Parker O Ring Handbook, chances are you’re already familiar with how critical these little components are. The o ring seal may be small, but it plays a big role in ensuring leak-free connections in everything from hydraulic systems to food-grade fittings. But despite their simplicity, improper installation is one of the leading causes of o-ring failure.
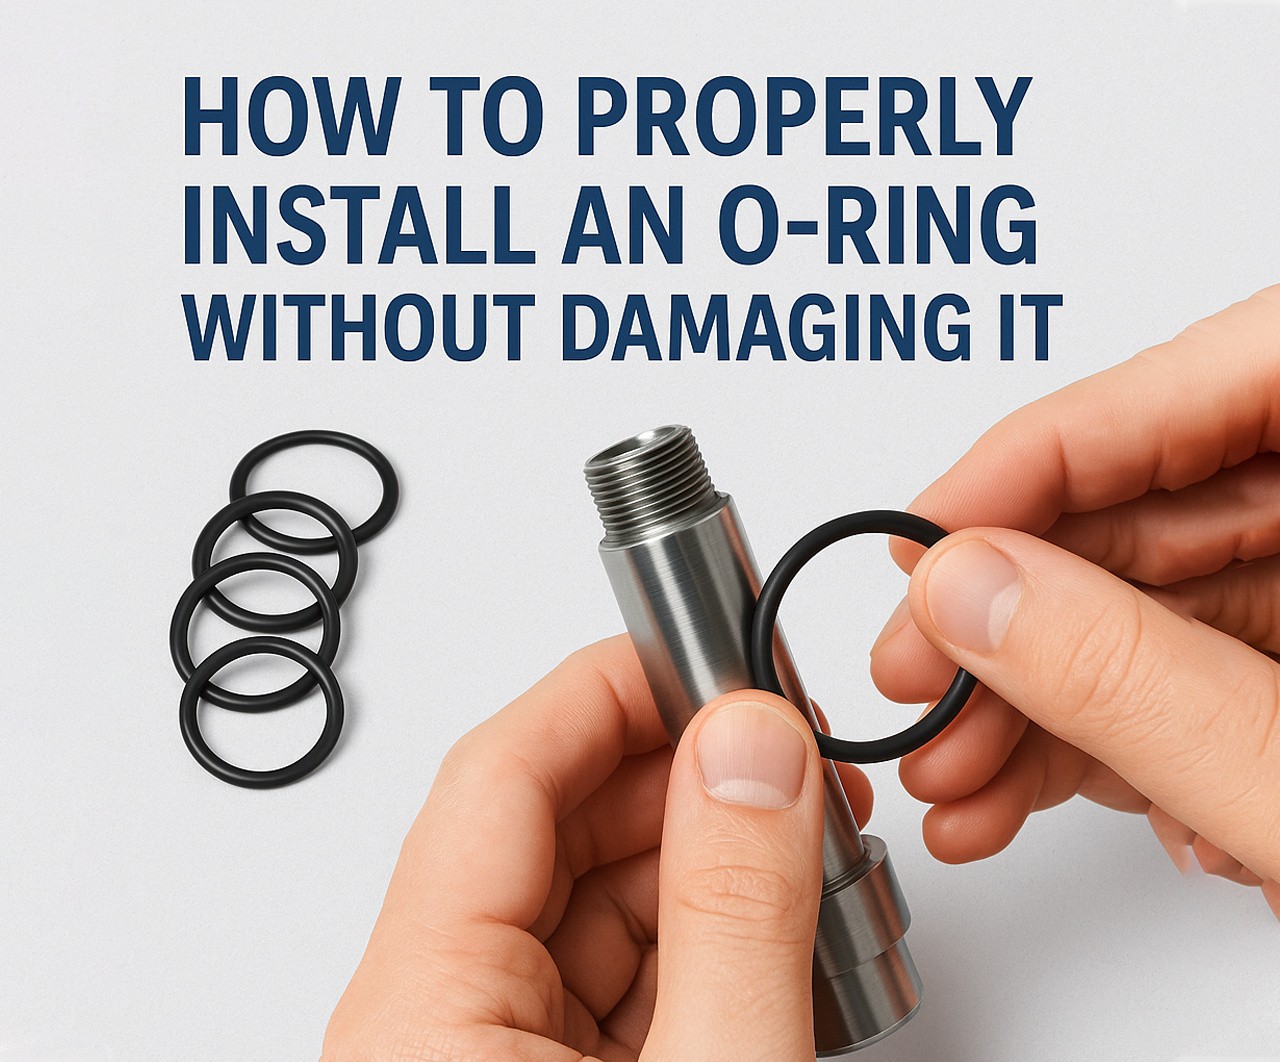
This guide walks you through everything you need to know about how to properly install an o ring seal without damaging it—whether you’re a seasoned technician or just getting started. Let’s dive into best practices, tools, mistakes to avoid, and creative insights that go beyond the manual. Know more..
Why Proper Installation Matters
The function of an o ring seal is straightforward: it prevents fluid or gas from escaping between two surfaces. Yet most premature failures come from poor handling or installation. Even if you’re using a premium product (yes, we’re looking at you, Parker O Ring Handbook users), damage during installation can make a $2 component cause a $2,000 breakdown.
Proper technique ensures:
- A leak-tight seal under pressure
- Long service life
- Reduced downtime
- Better overall system performance
Step-by-Step: How to Install an O-Ring Without Damage
1. Choose the Right O-Ring
Before you even touch the o-ring, confirm the material, size, and cross-section match your system requirements. Don’t just type “o rings near me” into a search engine and buy the first one you see. Compatibility matters.
Use references like the Parker O Ring Handbook to double-check:
- Durometer (hardness)
- Temperature range
- Chemical compatibility
- Squeeze and stretch tolerances
2. Inspect the O-Ring and Hardware
Visually inspect the o ring seal for surface defects—nicks, tears, or irregular molding can lead to immediate failure. Also, check the gland, groove, or shaft surfaces for burrs, sharp edges, or contamination.
Pro tip: A magnifying glass can help detect minor surface issues invisible to the naked eye.
3. Lubricate the O-Ring Properly
Lubrication reduces friction and eases installation. Always use a lubricant compatible with both the o-ring material and the system fluid.
Best options include:
- Silicone grease for EPDM and silicone o-rings
- PTFE-based lubricants for aggressive media
- System fluid itself (if non-reactive)
Never use petroleum-based grease on materials like EPDM—it causes swelling and degradation.
4. Use the Right Tools
Avoid screwdrivers, picks, or anything sharp that could cut or nick the o-ring. Instead, use specialized tools like:
- Blunt-edged plastic picks
- Cone-shaped installation tools
- O-ring installation jigs
- Chamfering tools for hard edges
These prevent over-stretching or gouging during installation.
5. Stretch with Care
If you need to stretch the o-ring over a shaft or into a groove:
- Stretch it evenly—don’t pull from one side.
- Limit stretch to no more than 5–10% of the ID.
- Allow it to relax before final positioning.
Overstretching is one of the most common causes of o ring seal failure.
6. Avoid Twisting
Twisting creates internal stress and can cause spiral failure. After installation, the o-ring should lie flat, round, and untwisted in its groove.
To test: roll the o-ring slightly with a gloved finger. If it moves smoothly, it’s properly seated.
7. Check Gland Design
Improper gland design is often the root of recurring failures. Review groove width, depth, and corner radii using guidelines from the Parker O Ring Handbook. A groove that’s too narrow will pinch the o-ring, while one that’s too wide may lead to extrusion.
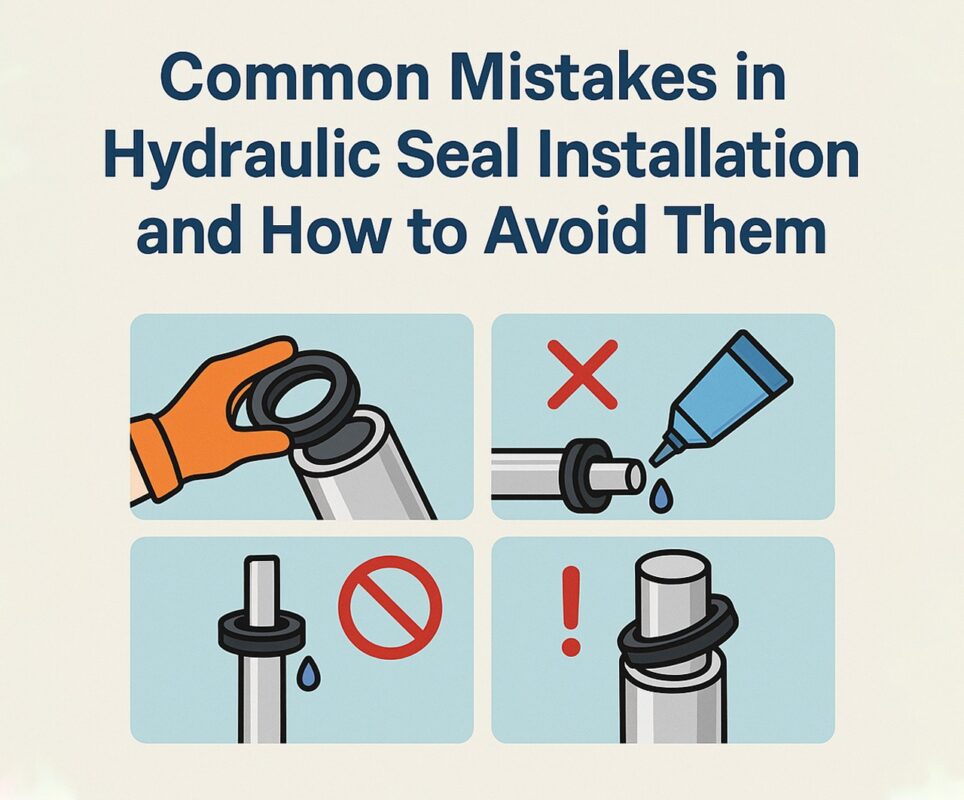
Common Installation Mistakes (and How to Avoid Them)
Even seasoned pros fall into these traps:
- Skipping lubrication: Causes pinching or tearing during press fit.
- Using metal tools: Leads to cuts and internal micro-tears.
- Wrong size selection: Always verify part numbers—many o-rings look alike.
- Twisting during install: Causes torque failure over time.
- Ignoring contamination: Dirt or grit in the groove can abrade the o-ring.
Creative Tips for Difficult Installs
- Warm the O-Ring: Soaking in warm (not hot) water makes the elastomer more pliable for tight fits.
- Freeze the Mating Component: If possible, chilling a shaft allows for easier fitting without damaging the seal.
- 3D-Printed Cone Tools: Custom-size cones can be printed for perfect stretch-free installation.
- Pre-lubricated O-Rings: Some suppliers offer pre-treated o-rings—ideal for fast-paced assembly lines.
Specialized Installations: Dynamic and High-Pressure Systems
For systems involving movement or extreme pressure, extra care is essential:
- Use back-up rings to prevent extrusion
- Ensure alignment to avoid side-load friction
- Use O-rings with enhanced cross-sections (quad rings, X-rings) for better sealing
Consult the Parker O Ring Handbook for material options like FKM, HNBR, and PTFE blends designed for extreme conditions.
What to Do After Installation
Once your o ring seal is in place:
- Visually inspect for distortion or uneven seating
- Run a system test at low pressure
- Check for leaks, movement, or bulging
Avoid full-pressure testing until you’ve confirmed everything looks good under mild operating conditions.
Troubleshooting Leaks
Still seeing leaks? Consider the following:
- Surface finish too rough: Polished metal interfaces are best
- Outgassing: Check material compatibility under vacuum or heat
- Thermal cycling: Some materials harden over time—upgrade to a better compound
Sometimes, even the best install can’t fix a poor component choice. That’s where searching “o rings near me” or revisiting the Parker O Ring Handbook pays off. Local suppliers often have tech teams who can help with system-specific suggestions.
Choosing the Right Supplier
There are countless sources for o-rings, but not all are created equal. When browsing for o rings near me, look for:
- ISO 9001 certification
- Full material traceability
- Compatibility with industry standards (ASTM, FDA, RoHS)
- Availability of technical support
Top-tier suppliers offer custom kits, color coding, and digital part ID scanning for streamlined inventory management.
Conclusion
Installing an o ring seal may seem like a minor task, but doing it wrong can lead to major consequences. With the right tools, preparation, and understanding of best practices—from avoiding overstretch to ensuring clean grooves—you can significantly reduce the risk of seal failure.
Whether you’re maintaining a hydraulic system or assembling precision lab equipment, a few extra minutes spent on proper installation pays off in reliability, safety, and peace of mind.
And next time you find yourself googling “o rings near me,” you’ll know what separates a successful install from a costly mistake. Keep the Parker O Ring Handbook handy, use the right materials, and always seal smart.