Removing worn oil seals can be a frustrating task, especially when the goal is to preserve the surrounding parts and avoid unplanned downtime. Whether you’re working on Timken oil seals, an oil pump seal, or a gearbox oil seal, careful removal is critical to ensure that the mating surfaces remain intact and the new seal performs as intended. Using the right tools and techniques helps avoid damage to shafts, housings, or other sensitive components, which is essential in high-precision systems. Know more..
Why Oil Seal Removal Must Be Done Right
Oil seals are designed to protect mechanical systems by preventing fluid leaks and contamination. However, when seals become brittle, worn, or baked into place due to heat and time, removing them carelessly can scar critical surfaces. This can result in:
- Seal misalignment during reinstallation
- Leaks and recurring failures
- Increased wear on shafts or sleeves
- Costly repairs or replacements
Whether you’re servicing Timken oil seals in a heavy-duty axle, extracting an oil pump seal from a compact motor, or pulling a gearbox oil seal in industrial machinery, removal without damage is a crucial skill.
Tools You Need for Safe Seal Removal
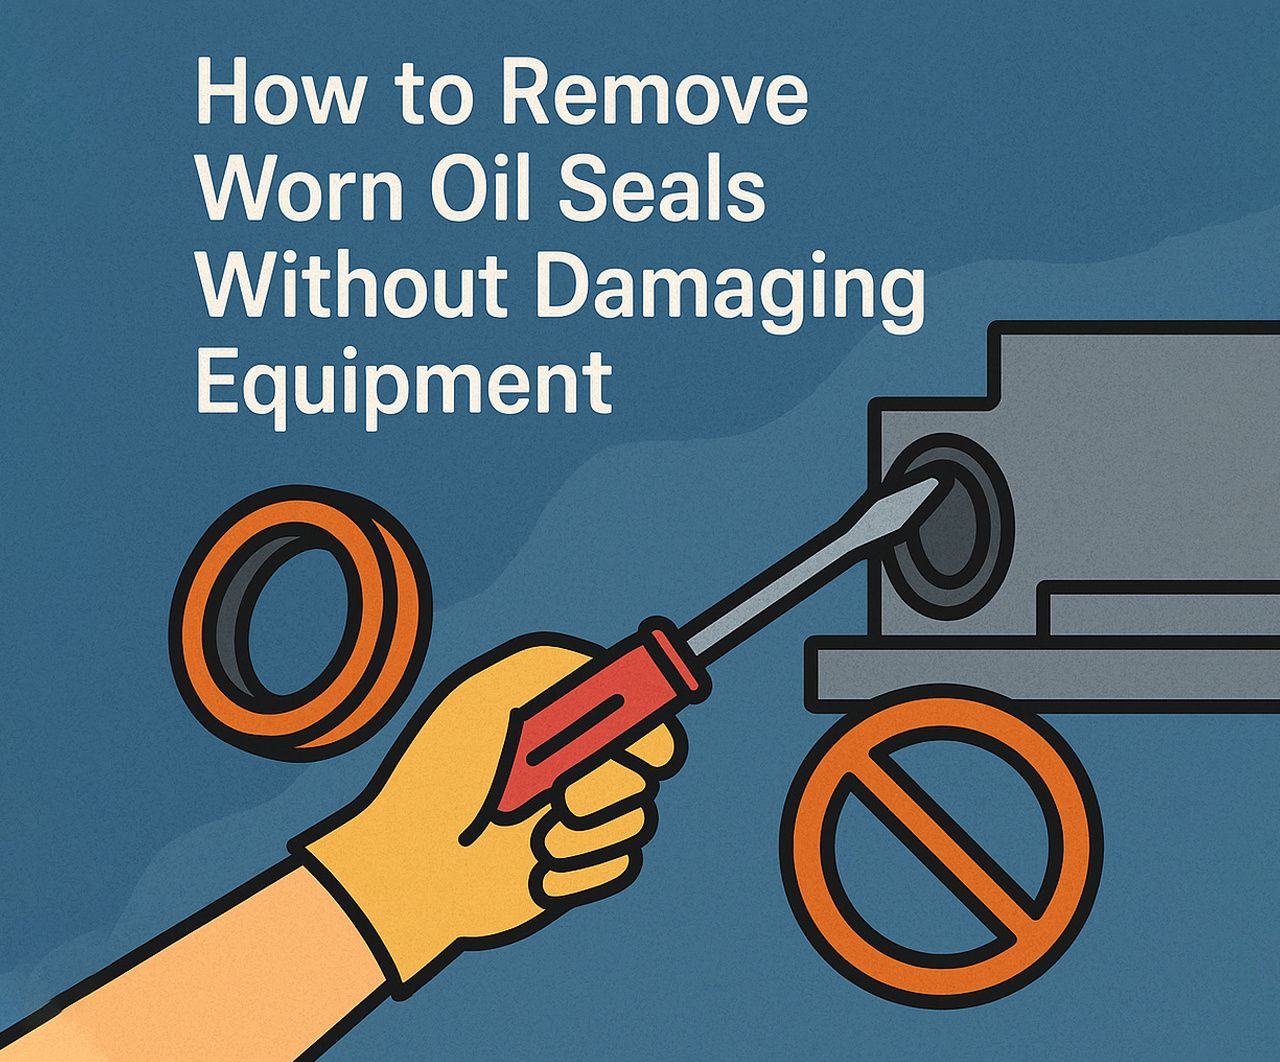
Before you begin, gather the right tools. Avoid makeshift methods like screwdrivers or chisels that can gouge surfaces.
Recommended Tools:
- Oil seal puller
- Slide hammer with seal hook
- Hooked pick tool
- Plastic or brass scraper (non-marring)
- Heat gun (for metal seals)
- Torque wrench (for reinstalling covers)
For Timken oil seals, some kits come with specialized pullers designed to match their seal profiles. Using manufacturer-recommended tools is the safest route.
Step-by-Step: Removing Worn Oil Seals
1. Identify the Seal Type and Installation Orientation
Understanding how the oil pump seal or gearbox oil seal is installed helps determine your approach. Is it flush-mounted or recessed? Press-fit or retained with a snap ring?
2. Clean the Surrounding Area
Before removal, clean away dirt, grime, and residual oil. This prevents debris from falling into the housing or damaging internal parts.
3. Release Pressure and Drain Fluids
In systems like gearboxes or pumps, relieve pressure and drain lubricants to avoid spills during removal.
4. Use the Right Puller
Position your puller tool by hooking the edge of the seal lip. Apply even tension to pull it straight out. If using a slide hammer, work slowly to avoid sudden jerks.
Pro Tip: For a deeply set gearbox oil seal, use a two-jaw puller or seal extractor with adjustable arms.
5. If the Seal Is Stubborn, Apply Heat
Carefully heat the housing around the seal (not the seal itself) with a heat gun. This causes the metal to expand slightly, loosening the seal grip.
6. Avoid Scratching the Shaft or Housing
If you must use a pick or scraper, opt for plastic or brass. Avoid sharp steel tools that could score the surface. Even a light scratch can lead to a leak.
7. Check for Retaining Rings
Some Timken oil seals or oil pump seals have retainers that need to be removed before the seal can come out. Don’t force the seal without checking for these.
Cleaning and Inspecting After Removal
Once the worn seal is removed:
- Wipe down the area with a lint-free cloth
- Inspect the bore and shaft for wear, scratches, or pitting
- Check for burrs or deformations
- Polish lightly with fine emery cloth if needed (only if damage is minimal)
Caution: If a gearbox oil seal was running dry or misaligned, inspect for overheating marks or metal shavings. These signs suggest deeper mechanical issues.
Choosing the Right Replacement Seal
Now that your old Timken oil seal, oil pump seal, or gearbox oil seal is out, select a replacement that matches:
- Inside and outside diameters
- Width
- Material (NBR, Viton, PTFE)
- Application specs (speed, pressure, chemical compatibility)
Use OEM specs when possible. A high-quality seal ensures better resistance to heat, oil degradation, and pressure variations.
Reinstallation Tips to Avoid Leaks
A new seal is only as good as its installation. Follow these steps:
- Lubricate the Seal Lip Use the recommended grease or oil to coat the inner sealing lip. This prevents dry startup damage.
- Use a Seal Driver or Installer Tool Drive the new seal in evenly using a seal driver that matches its diameter. Never hammer directly on the seal.
- Verify Orientation Double-check that the sealing lip faces the fluid side. Installing backward is a common and costly mistake.
- Torque Any Fasteners Properly If reinstalling a housing or cover plate, use a torque wrench to ensure even pressure distribution.
- Test Before Full Operation Spin the shaft manually to verify smooth operation. Run the equipment briefly and check for leaks.
Common Mistakes to Avoid
- Using sharp tools that scratch the housing
- Skipping inspection after seal removal
- Mismatched replacement seals
- Over-driving the new seal into an angled position
- Forgetting to lubricate the seal lip
Each of these errors can reduce the life of your oil pump seal or gearbox oil seal, leading to repeat failures.
Special Considerations by Application
Timken Oil Seals
Timken offers premium seals with tight tolerances. Always use matching driver tools and check for alignment guides. These are often found in axle systems and demand perfect sealing under load.
Oil Pump Seal
Compact and delicate, these seals often sit close to gears or impellers. Use hook tools carefully and verify shaft condition after removal.
Gearbox Oil Seal
Larger in size and sometimes recessed, gearbox seals can require creative tooling. Apply even pressure to avoid cocking the new seal during install.
Case Study: Preventing Downtime in a Manufacturing Line
An automotive plant faced repeated downtime due to leaking gearbox oil seals on a conveyor motor. Technicians discovered they were using screwdrivers to remove the seals, damaging the housings. After switching to a seal puller and proper heat-assisted removal technique:
- Seal change time dropped by 50%
- Leak incidents reduced to near zero
- Shaft condition preserved for longer service life
Trends in Seal Removal and Replacement
- Tool manufacturers now offer application-specific seal kits for Timken oil seals and other premium brands
- 3D printed alignment guides help avoid cocked installs
- Video scopes allow internal inspection without disassembly
- QR-coded seals offer traceability and reordering accuracy
Smart seal removal isn’t just about the right tools—it’s about using modern techniques to reduce human error.
Final Thoughts: Precision and Patience Pay Off
The removal of a worn oil seal isn’t just a maintenance step—it’s an opportunity to prevent future problems. Whether you’re replacing a Timken oil seal, oil pump seal, or gearbox oil seal, your technique matters. Take your time, use the right tools, and focus on preserving every surface.
A smooth removal followed by correct installation ensures a clean, leak-free system that runs longer and more efficiently. In the end, seal removal done right is seal installation set up for success.