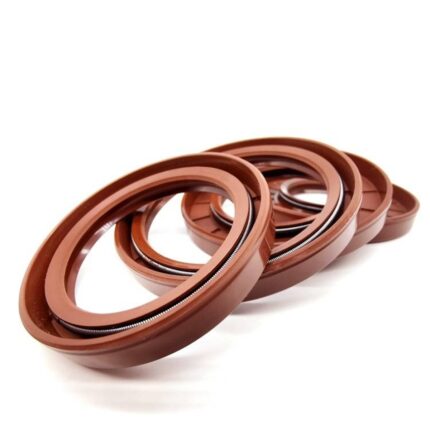
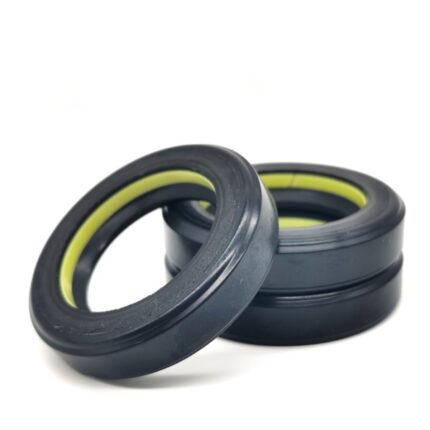
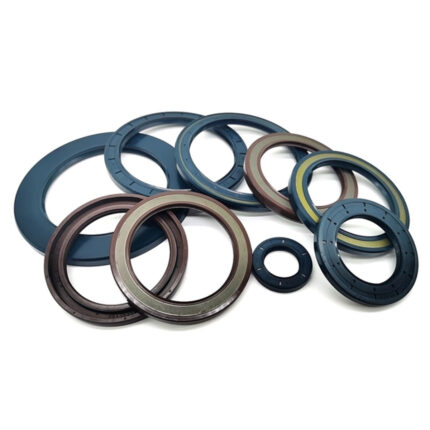
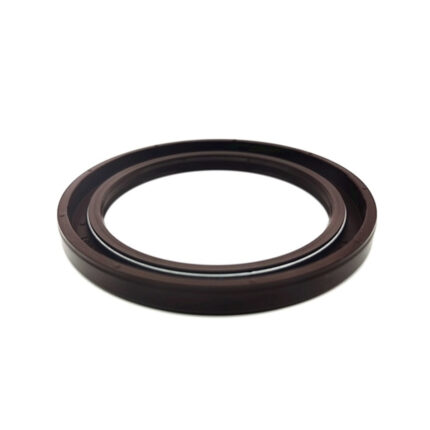
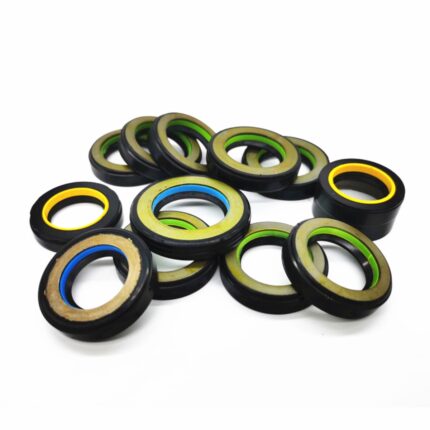
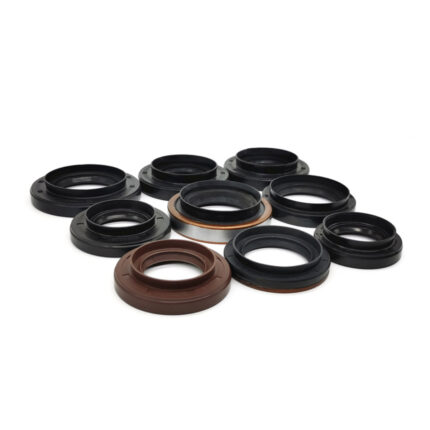
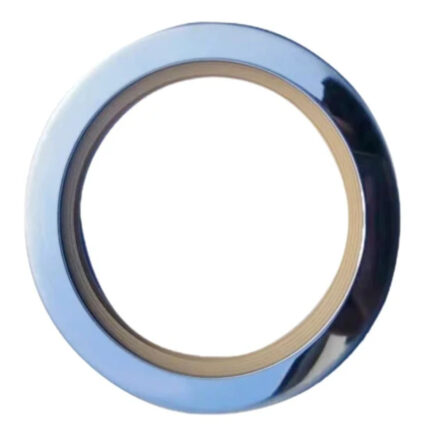
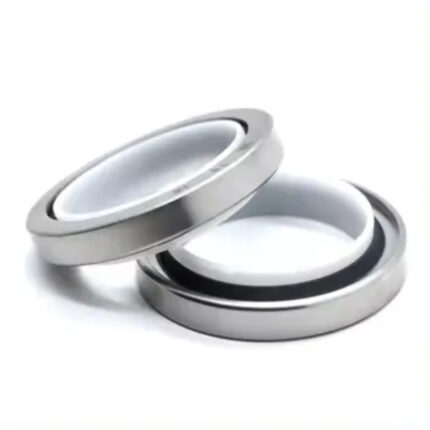
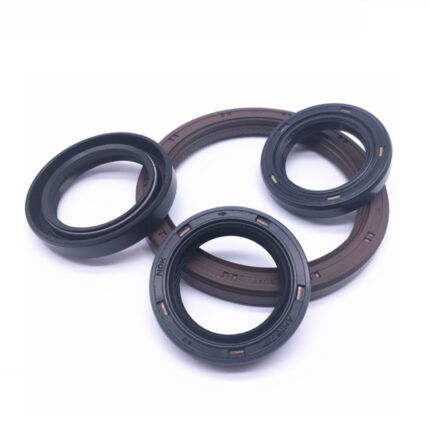
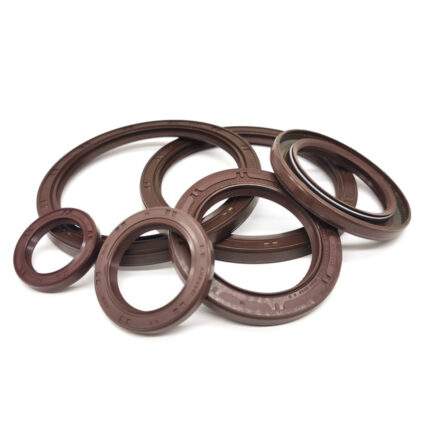
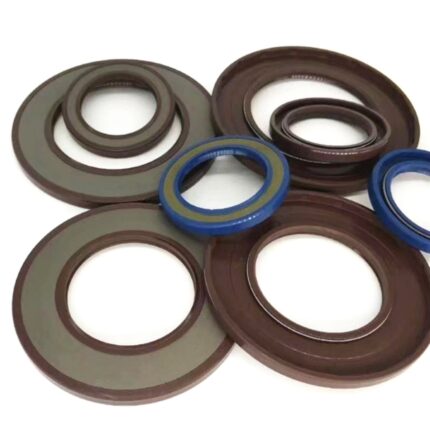
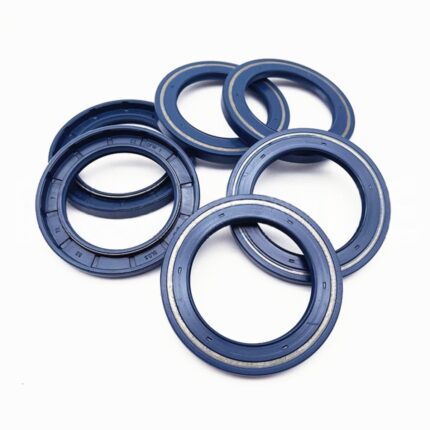
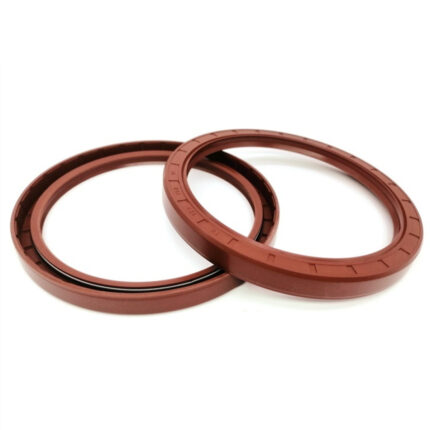
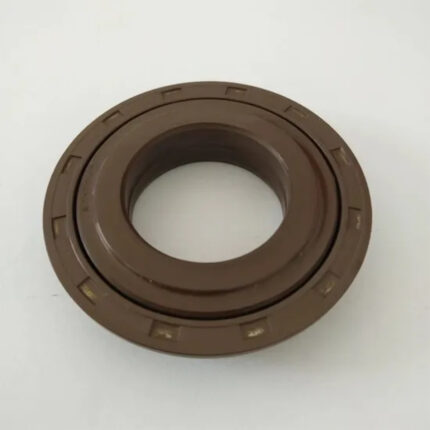
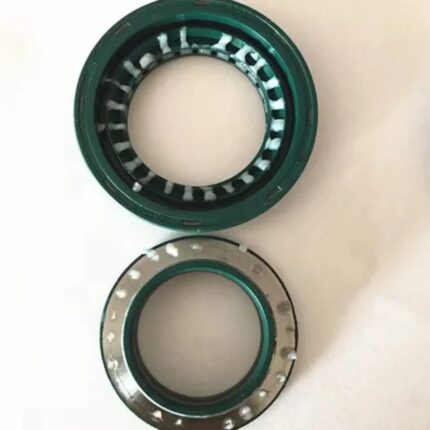
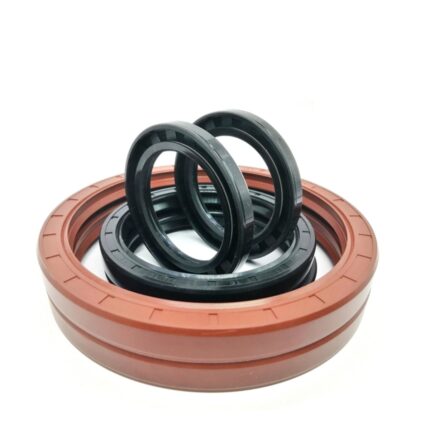
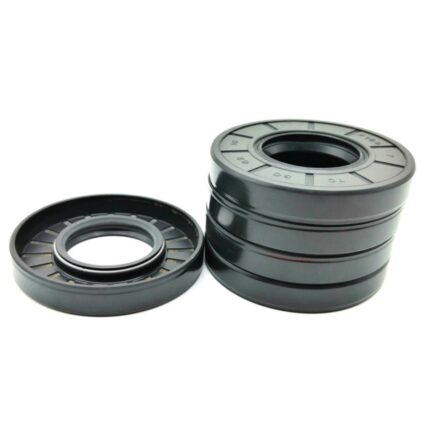
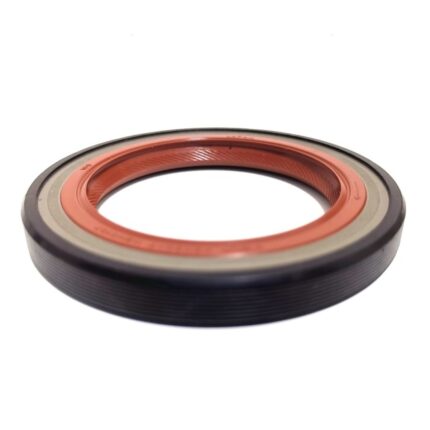
Design trends

How to Install Oil Seals Without Damaging the Lip or Housing

Oil Seals

Precision, patience, and a clear understanding of technique are key when it comes to installing oil seals. Whether you’re working with components supplied by top-tier oil seal manufacturers, replacing a rubber oil seal, or dealing with specialty packaging like a foil seal, the objective is the same: create a perfect, leak-free seal without damaging the housing or compromising the lip.

A seemingly minor misstep during installation can lead to seal failure, costly machinery downtime, and even damage to critical components. In this guide, we’ll walk you through professional-grade installation strategies that minimize risk and maximize lifespan, all while helping you navigate choices and recommendations from reliable oil seal manufacturers. Know more..

What Is an Oil Seal and Why Proper Installation Matters

An oil seal, also known as a shaft seal or rotary seal, keeps lubricant in while keeping contaminants out. In automotive, agricultural, manufacturing, and even home appliances, rubber oil seals play a critical role in system performance.

But seals—especially rubber oil seals—are delicate. One nick, twist, or misalignment can render them ineffective. For OEMs and maintenance teams sourcing from leading oil seal manufacturers, installation quality can either complement or undermine the precision that goes into seal production.

And while you might associate foil seal more with bottle packaging or hygienic food enclosures, the technique of creating a reliable, non-destructive barrier is just as relevant in mechanical applications—especially when pre-lubricated seals or protective top layers are involved.

Step-by-Step Guide to Installing Oil Seals Correctly

Step 1: Select the Right Oil Seal

The first and most important step is choosing the correct oil seal for your application. Here’s what to consider:

  • Material: A rubber oil seal made of nitrile is fine for general use. For high temperatures, Viton® or silicone may be better. Confirm chemical compatibility with fluids.
  • Seal type: Single-lip, double-lip, spring-loaded? Each is suited for different conditions.
  • Supplier quality: Only buy from certified oil seal manufacturers to ensure precise dimensions and material durability.

Mistakes at this stage often result in poor sealing, premature wear, and hard-to-diagnose failures.

Step 2: Prepare the Shaft and Housing

Installation surfaces must be free of imperfections. Here’s how:

  • Clean thoroughly: Remove rust, old grease, debris, and any previous sealing material.
  • Inspect shaft: Look for nicks, scoring, or tapering. Use a micrometer to check tolerance.
  • Polish if needed: Use fine-grit emery cloth or a polishing stone to smooth out minor damage.
  • Deburr the housing: Sharp edges will tear the seal’s lip during insertion.

A smooth shaft and clean housing allow for seamless seal engagement and minimize friction that could wear down the rubber oil seal.

Step 3: Lubricate the Seal Lip and Outer Diameter

Lubrication is critical for two reasons:

  1. It reduces friction during the seal’s first rotation
  2. It prevents dry running

Use a compatible lubricant (usually the same fluid the seal will retain) and lightly coat the sealing lip. Also apply a thin layer to the OD of the rubber oil seal to ease insertion.

For seals with a foil seal layer or pre-lubrication, avoid over-handling the contact area. The foil or protective cover must remain undisturbed until final installation.

Step 4: Align and Insert the Seal

This is the most delicate part of the process.

  • Align squarely: The seal should be perpendicular to the shaft and centered over the bore.
  • Use a seal driver: Specialized tools distribute force evenly. Avoid screwdrivers or hammers.
  • Apply uniform pressure: Gently tap or press until the seal seats flush with the housing face.
  • Do not twist: Twisting damages the sealing lip and may dislodge the garter spring.

Pro Tip: For shafts with threads or keyways, use an installation sleeve to protect the rubber oil seal during sliding.

Step 5: Inspect the Seal Fit

Double-check the following:

  • Is the seal sitting flush and evenly pressed?
  • Is the lip intact and undistorted?
  • Are there any visible gaps or misalignments?

Remove any foil seal covering before initial operation if applicable.

Common Mistakes That Damage the Lip or Housing

Even experienced technicians can run into trouble. Here are frequent issues:

  • Dry insertion: Causes drag, tearing, or garter spring dislocation
  • Overforce: Excess pressure deforms the housing or breaks the seal
  • Using the wrong tools: Screwdrivers, pliers, and metal rods can gouge and misalign
  • Failing to deburr: Sharp edges can slice the lip during install
  • Incorrect sizing: Using a seal with the wrong OD or ID stretches the rubber and ruins the seal

Working with reliable oil seal manufacturers often includes access to technical documentation, tolerances, and installation tips to avoid these mistakes.

When to Replace Rather Than Reinstall

If you’re unsure about a seal’s condition during disassembly, it’s safer to replace it. Look for:

  • Hardened or cracked rubber
  • Lip distortion or warping
  • Missing or damaged foil seal protection
  • Visible wear tracks on the shaft

Replacing with a high-quality rubber oil seal from a trusted oil seal manufacturer is almost always less costly than dealing with a failure.

Specialty Tools That Help

  • Seal installation sleeves
  • Pilot tools for aligning in confined spaces
  • Depth stops for precise seating
  • Non-marring mallets for delicate force

These tools, often recommended by top oil seal manufacturers, help standardize installation and reduce operator error.

Differences in Housing Types

Some housings make seal installation easier—or harder. Consider:

  • Open housings: Easier visual alignment but may allow contaminants in during install
  • Blind bores: Require more precision; mistakes harder to detect
  • Split housings: Often found in gearboxes; must be carefully matched and sealed again

In each scenario, it’s crucial to understand how a rubber oil seal behaves under compression and heat during installation.

Oil Seal vs. Foil Seal: Lessons from Other Industries

While a foil seal is most commonly seen in packaging (medicine bottles, food containers), the principle of undisturbed sealing is similar.

A tampered foil seal can indicate compromised safety—just as a bent or improperly seated rubber oil seal can indicate imminent mechanical failure.

In fact, some modern mechanical seals use composite structures with embedded foil layers to maintain form, minimize evaporation, or reduce heat absorption.

So while they function in different environments, both seal types reflect the same principle: a good seal is a quiet, invisible guardian of system performance.

Preventive Maintenance Tips

To extend the life of your seals:

  • Regularly inspect for early signs of wear
  • Replace during scheduled downtime, not after failure
  • Keep an inventory of critical seals (especially oil pump or gearbox seals)
  • Use only OEM or approved replacements from certified oil seal manufacturers

Working With the Right Oil Seal Manufacturers

Quality matters. When choosing oil seal manufacturers, look for:

  • ISO certification
  • Detailed product catalogs and dimensional charts
  • Material compatibility guidance
  • Post-sale technical support

Reliable oil seal manufacturers can help troubleshoot installation challenges, recommend improved materials for harsh conditions, and even design custom seals for proprietary equipment.

Final Thoughts

Proper installation of rubber oil seals is not just a technical task—it’s a fundamental part of protecting machinery and avoiding performance loss. With proper alignment, lubrication, tools, and support from trusted oil seal manufacturers, you’ll minimize downtime and extend the life of your rotating equipment.

Whether you’re resealing a pump, rebuilding a gearbox, or even replacing a cap with a foil seal, the same rule applies: don’t rush, don’t guess, and always aim for a seal that lasts.

Because a well-installed oil seal is silent proof that your machinery is in the right hands.