Maintaining the performance of rotating equipment often comes down to the smallest components—like oil seals. Whether you’re servicing a gear pump oil seal, inspecting an pump oil seals, or replacing an oil seal for pump reliability, missing early signs of wear can lead to serious mechanical failure. Because of the high operating speeds and pressures in most industrial and automotive applications, proactive oil seal inspection isn’t optional—it’s essential.
In this detailed checklist, we’ll walk through the key steps for identifying worn, damaged, or failing oil seals. Whether you’re a maintenance technician, reliability engineer, or OEM operator, this guide will help you catch issues early and avoid costly downtime. Know more..
Why Oil Seals Matter
Oil seals keep lubricants in and contaminants out. They play a critical role in:
- Protecting bearings and shafts from debris
- Maintaining oil pressure and containment
- Preventing fluid mixing (especially between oil and coolant or water)
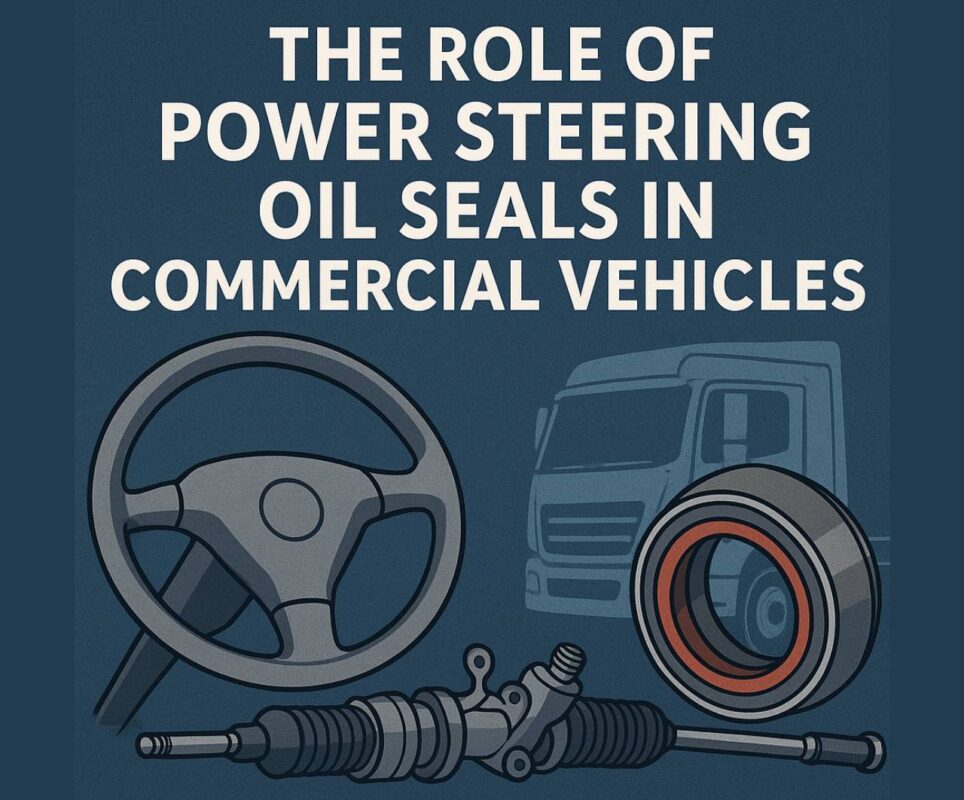
The oil seal for pump applications, especially in industrial environments, faces continuous friction, heat, and exposure to harsh chemicals. Without timely inspection, even a small failure can lead to massive system disruption.
Oil seals are often underappreciated, but when you consider the thousands of rotations per minute that most shafts endure, it becomes clear just how important these components are. Every time a gear pump oil seal or oil pump shaft seal completes a rotation, it must maintain a tight, leak-free barrier—no matter the load, heat, or vibration involved.
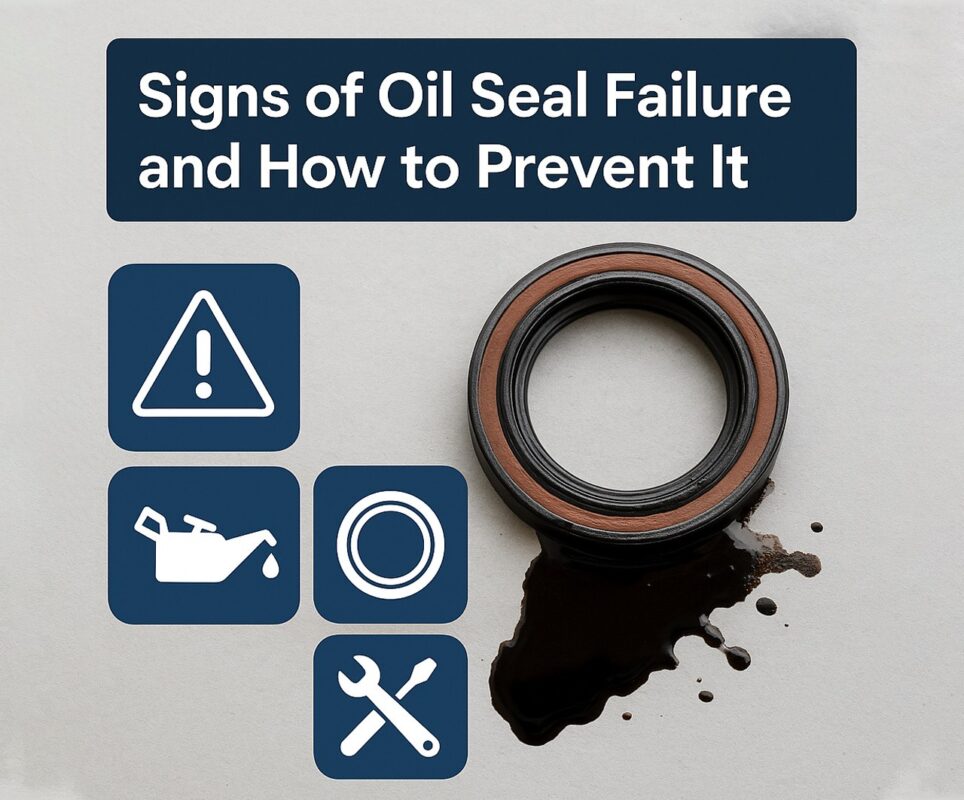
Common Signs of a Failing Oil Seal
Knowing the red flags can prevent unplanned shutdowns. Here’s what to watch for:
- Visible oil leakage near the shaft or housing
- Excessive vibration or noise during pump operation
- Drop in oil pressure or pump performance
- Shaft scoring or discoloration from overheating
- Emulsified oil (milky appearance), indicating contamination
- Burning smell or smoke near the pump housing
- Unexpected system alarms or fluid loss notifications
Routine checks for these symptoms in gear pump oil seal or oil pump shaft seal systems can prevent catastrophic failure.
Pre-Inspection: What You’ll Need
Before diving into the inspection, gather these essential tools:
- Flashlight or inspection light
- Mirror for hard-to-see locations
- Clean rags and gloves
- Leak detection dye (if needed)
- Micrometer and caliper
- Seal puller or hook
- Shaft surface gauge
- Torque wrench and mounting diagrams
Always depressurize and cool down equipment before starting inspection.
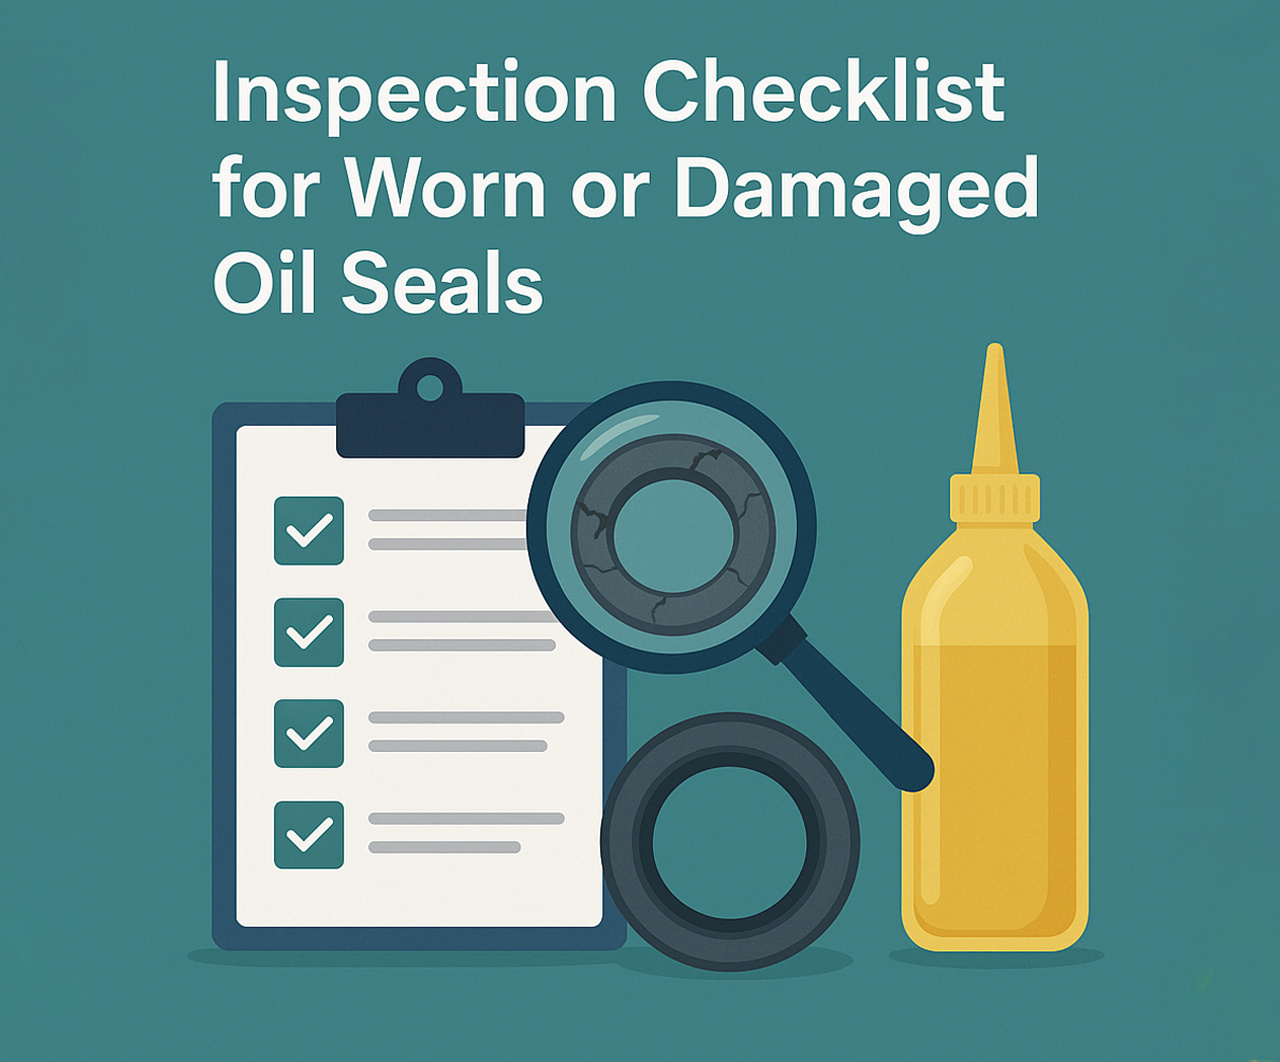
Step-by-Step Oil Seal Inspection Checklist
1. Check for External Oil Leaks
- Inspect around the seal housing and shaft junction
- Look for drips, residue, or oily buildup
- Check underneath the equipment for signs of long-term seepage
A leaking oil seal for pump is a major warning sign that needs immediate attention.
2. Inspect the Shaft Surface
- Run your finger along the shaft
- Look for grooves, pitting, or discoloration
- Check for concentric wear patterns (or lack thereof)
Damage here can cut into the seal lip and accelerate wear. Scoring is especially common in high-speed oil pump shaft seal configurations.
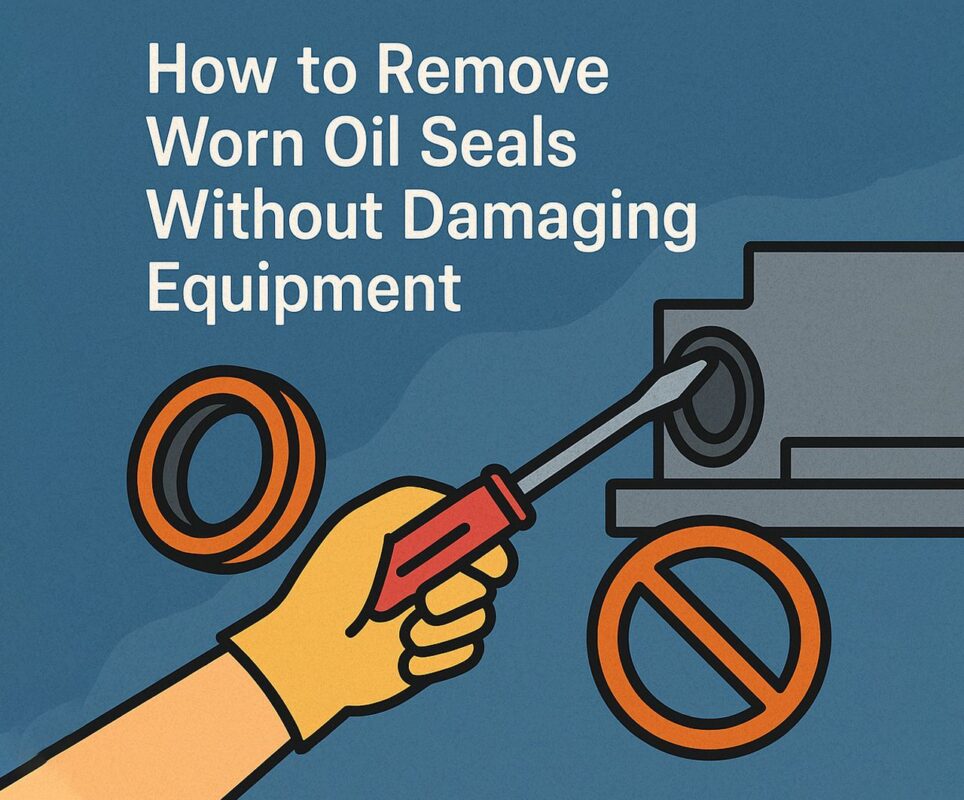
3. Evaluate the Seal Lip
- Remove the seal and inspect the contact lip
- Check for cracking, tearing, or hardening
- Look for deformation or flattening of the sealing edge
Heat or chemical exposure often leads to lip deterioration in both gear pump oil seal and rotary shaft applications.
4. Check for Shaft Misalignment
- Use dial indicators or shaft alignment tools
- Look for angular or parallel misalignment
- Inspect adjacent components for wear caused by vibration
This is particularly critical in gear-driven systems where the gear pump oil seal relies on consistent rotation.
5. Inspect for Contamination
- Look for signs of grit, sludge, or water intrusion
- Clean seals and mating surfaces thoroughly
- Use a white cloth to detect dirt deposits
Contaminants wear the seal and may scratch the shaft, eventually leading to seal failure.
6. Test Shaft Surface Finish
- Use a surface tester to ensure the shaft finish is within tolerance (typically 0.2–0.4 µm Ra)
- Check for irregular patterns that could indicate eccentricity
A rough or overly polished shaft will cause poor seal contact.
7. Review Temperature Exposure
- Look for signs of thermal degradation (brittleness, discoloration, plasticization)
- Compare observed damage to material ratings
Certain oil seal for pump materials can withstand more heat than others. Check compatibility.
8. Inspect Seal Fit and Installation Area
- Ensure the bore is round and clean
- Use a micrometer to check housing diameter and roundness
- Confirm there’s no wobble or play in the assembly
A poor fit allows the seal to wobble or lose pressure, leading to eventual failure.
Oil Seal Failure Modes and What They Mean
| Symptom | Probable Cause | Action Needed |
| Cracked or brittle lip | Excess heat or chemical attack | Replace with high-temp material |
| Excessive leakage | Lip wear or shaft scoring | Replace seal and repair shaft |
| Hardening of rubber | Age or incompatible lubricant | Use proper seal compound |
| Seal spinning in bore | Loose fit or wrong dimension | Resize bore or use retaining compound |
| Seal lip separation | Overpressure or shaft misalignment | Install backup ring or realign |
| Flattened lip | Overcompression or misaligned shaft | Replace seal and inspect housing |
| Corroded spring | Moisture ingress | Use stainless or coated components |
Understanding how your gear pump oil seal fails gives insight into the root problem—not just the symptom.
Maintenance Tips for Oil Seal Longevity
- Choose the Right Material
- NBR for general oil
- FKM (Viton) for high temp or aggressive media
- PTFE for dry run or chemically aggressive environments
- Use Compatible Lubricants
- Avoid swelling or degradation caused by chemical incompatibility
- Use synthetic grease for high-speed applications
- Store Seals Correctly
- Keep in cool, dry place away from sunlight and ozone
- Avoid compressing seals in storage
- Install With Care
- Use correct tools
- Lubricate seal and shaft during installation
- Use installation sleeves or guide cones
- Regular Monitoring
- Schedule periodic checks, especially for high-speed applications
- Incorporate seal inspection into PM schedules
These steps help extend the life of any oil pump shaft seal or gear pump oil seal under variable operating conditions.
Choosing the Right Replacement Seal
When selecting a replacement, consider:
- Shaft diameter and speed
- Operating pressure
- Media (oil, grease, water, chemicals)
- Housing type (open or closed)
- Seal orientation and exposure to external elements
Always measure twice and consult with your trusted seal provider before ordering. They can ensure the right oil seal for pump application is selected for maximum performance.
Advanced Technologies in Oil Seals
In high-performance applications, newer technologies like:
- Spring-loaded lip seals
- Dual-lip designs with dust exclusion
- PTFE-encapsulated elastomeric seals
These options offer better resistance to harsh chemicals, dry run, and even vacuum pressure. They’re often used in motorsport, aerospace, and chemical processing plants.
For extreme duty gear pump oil seal applications, these advanced materials can double or triple service life with proper installation and alignment.
Final Thoughts
A worn or damaged oil seal might seem minor—until it causes a major breakdown. Whether you’re maintaining an industrial drive or replacing a gear pump oil seal in a hydraulic system, using this checklist helps you catch issues before they escalate.
Reliable sealing starts with proper inspection. From high-speed oil pump shaft seal units to every oil seal for pump housing in your facility, the right attention today ensures uptime and equipment integrity tomorrow.
Investing time in proper seal inspection and specification isn’t just preventative — it’s proactive performance engineering.